Ever wondered how to fix a tent pole? The tent pole replacement process is simpler than you might think. In fact, with the right tools and guidance, you can easily substitute a broken or damaged pole and ensure your tent stands strong again. Let’s first delve into the types of tent poles.
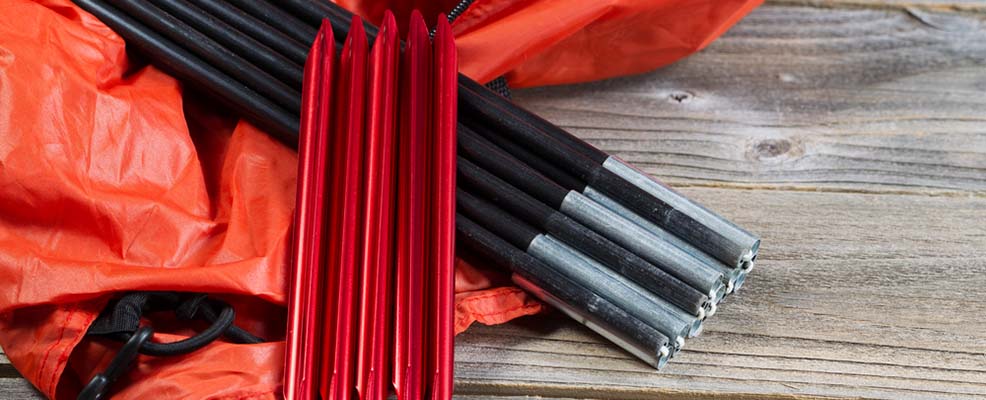
Types of Tent Poles
# 1 – Steel Poles:
Description: Steel poles, often found in traditional family tents, have been a staple in the camping industry for decades. They are the go-to choice for campers looking for durability.
Characteristics: Weighing significantly more than their counterparts, they have a track record of withstanding harsh weather conditions. It is found that steel poles when properly maintained, can last up to decades without significant wear.
# 2 – Glass-reinforced plastic (GRP) or Fiberglass Poles:
Description: Fiberglass poles, introduced in the late 20th century, revolutionized the camping industry by offering a lightweight alternative to steel. They are now found in over 60% of modern tents.
Characteristics: Many campers reported they are flexible and can handle stress, A post from LinkedIn highlighted If handled properly fiberglass poles can last decades without any noticeable degradation.
# 3 – Aluminum Alloy Poles:
Description: Favored by backpackers, aluminum poles combine strength with lightness. They have grown in popularity, with a 30% increase in sales over the past decade.
Characteristics: Renowned for their rust resistance, anecdotal evidence from seasoned campers suggests that these poles can withstand high-altitude winds and heavy snow loads.
# 4 – Carbon Fiber Poles:
Description: The luxury car with tent poles, and carbon fiber options are a testament to modern engineering. Though they account for just 5% of the market, their demand is steadily growing.
Characteristics: Weighing up to 50% less than aluminum poles, they are a favorite among ultralight backpackers. However, their high cost can be a deterrent for many.
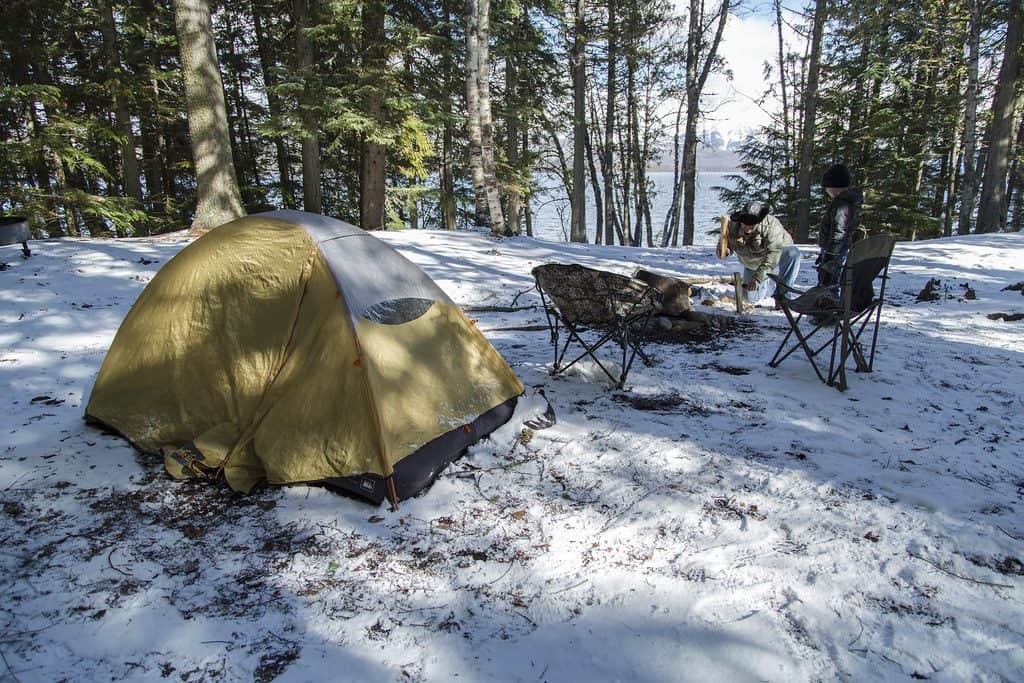
Why should campers carry tent spare parts?
# 1 – Broken Tent Poles:
On a windy day in the desert, my tent was caught in a sudden gust. One of the poles snapped, causing the tent to collapse. Thankfully, I had a spare pole segment and was able to replace the broken section. Without it, my tent would’ve been rendered useless against the desert winds.
# 2 – Wear and Tear:
Over time, the elastic cord inside tent poles can wear out or snap. During a trip to the Ozarks, my tent pole’s cord snapped, causing the pole segments to come apart. I had a spare cord with me, which allowed me to re-thread the pole and keep it functional.
Nature is beautiful, but it can be unforgiving. Spare parts aren’t just about convenience; they’re about safety, comfort, and peace of mind. Moments like these teach you the value of being prepared.
Tent Pole Replacement: A Step-by-Step Guide
# 1 – Assess the Damage:
Before starting any repair or replacement, thoroughly inspect the tent poles to determine the extent of the damage. Check for bends, breaks, or any wear in the shock cord.
# 2 – Gather Necessary Materials:
Depending on the type of repair, you’ll need:
- Replacement tent pole sections (of the same material and diameter)
- Shock cord (if damaged)
- Pole repair sleeve (for temporary fixes)
- Pliers or tweezers
- Scissors or a small saw (for cutting pole sections if necessary)
- Duct tape or strong adhesive tape
# 3 – Remove the Damaged Section:
If the tent pole is broken, identify the damaged section. Using the pliers or tweezers, remove the end tip of the pole and pull out the shock cord, setting it aside.
# 4 – Insert the Replacement Section:
Slide the replacement pole section into the correct position. Ensure it’s of the same length as the damaged section. If it’s longer, you may need to cut it to the appropriate size using the saw.
# 5 – Re-thread the Shock Cord:
- If the shock cord is still in good condition, re-thread it through the pole sections. Start from one end, pushing the cord through each section until it emerges from the other end.
- If the shock cord is damaged, measure a new piece that’s slightly longer than the full length of the pole. Burn or seal the ends to prevent fraying, then thread it through the pole sections.
# 6 – Secure the Ends:
Once the shock cord is threaded through all the sections, tie a firm knot at both ends to ensure the sections remain connected. Replace the end tips of the poles.
# 7 – Test the Repair:
Assemble the tent pole by pulling the sections together. Ensure that they fit snugly and that the shock cord provides the necessary tension to keep them together.
# 8 – Temporary Fixes with a Repair Sleeve:
If you don’t have a replacement section on hand, you can use a pole repair sleeve for a temporary fix. Slide the sleeve over the broken section and secure it in place with duct tape. This is a short-term solution, and you should replace the damaged section as soon as possible.
# 9 – Store Properly:
After the repair, ensure that the tent poles are stored in a cool, dry place. Proper storage can prevent further damage and extend the lifespan of the poles.
# 10 – Consider Professional Help:
If you’re unsure about the repair or if the damage is extensive, consider seeking professional repair services. Some outdoor gear shops offer tent pole repair services that can ensure a more lasting fix.
Conclusion
Replacing tent poles is not just about fixing a piece of equipment; it’s about ensuring safety, comfort, and peace of mind during outdoor adventures. With the right knowledge and tools, you can face any tent pole challenge with confidence. So, the next time you’re out in the wild, remember the importance of these silent guardians and the skills needed to mend them.
Sean is an accomplished backpacker with over 10 years of experience exploring the great outdoors. He has a passion for hiking, camping and off-grid living.