Keeping water cold all day on my hike is a top priority for me! Drinking warm water when my body is exhausted is not refreshing at all, which is why I found these solutions.
- Freeze your water overnight
- Place your bottles at the bottom of your backpack
- Insulate your bottles by wrapping them in clothes
- Get a high quality insulated water bottle
- Freeze your water bladder properly
- Freeze water bottles and use them to refill your water bladder
- Use a river or lake to cool down your water
Let’s go in-depth and explore more options!
How to keep water cold while hiking and camping?
Freeze your water

This is a great method I found, just put your water bottles in a freezer the day before you go hiking.
Remember to not overfill the bottles with water because freezing causes expansion, meaning your bottles will be damaged if filled too much. I’d say to fill them up around 80%.
Sticking your bottles full of water in a freezer is great for keeping water cold for long amounts of time, but you will have to wait a while for it to melt before you can drink it.
That’s why I suggest you fill up 1/4 of your bottle with water and freeze it overnight. On the day of your hike, take it out and fill the rest of the bottle with water. The frozen bottom of the bottle will keep the rest of the water cold all day! This means you get drinkable cold water immediately.
I’d only recommend freezing your entire water bottle if you’re going on an 8+ hour trip in a very hot environment. If you make 2 frozen water bottles hug each other, it’ll keep them colder for longer.
Keep in mind that you can always add some ice cubes to the water if you don’t have time for it to freeze. I suggest crushing up the ice cubes as it’ll make your drink cool down faster than just throwing in ice cubes. Keep in mind that this means your drink will warm up faster!
Place your water bottles correctly
Remember to keep your bottles inside your backpack so they are away from the sun!
On one of my first hiking trips I learned this the hard way, I really underestimated how fast the sun can warm up your water.
If you fully freeze your water, I mentioned above you will have to wait a while for it to melt. You can put a bottle in the pocket on the outside of your backpack so the sun melts it faster.
You should also keep your bottles away from the back wall of your backpack! Your back sweats a lot and generates a crazy amount of body heat.
Just keep your bottles away from your back and don’t put them near the top of your backpack and you should be fine.
If you are backpacking or hiking for multiple days, leave your bottles on the ground instead of leaving them in your backpack during the night. Then you should pack them up before the sun goes up. Your water will be significantly colder!
Insulate your water bottles
I suggest you wrap a cloth around your bottle and then wrap foil around the cloth. Keep the shiny side of the foil on the outside. This weird method will actually significantly reduce the amount of heat reaching your bottle.
What I did to make this method even more effective is I froze both the cloth and foil overnight. Once I wrapped it around my bottle, my water was colder for a very long amount of time!
If you don’t like making little crafts as I do, you can always just buy an insulated thermal bag.
To make your own DIY thermal bag, you can put your bottle inside a plastic bag and wrap an ice pack around it. This is a bit dangerous though since it can spill easily!
Some companies actually sell insulating sleeves for their bottles like Nalgene. It is actually very effective for retaining cold.
One thing everyone should do is to wrap your bottle in layers inside your backpack! Sleeping bags, jackets, and any other types of clothing make for great insulators. Wrap your clothing around your water bottle and it’ll keep the cold from escaping!
Just make sure to place your bottle near the bottom of your backpack as I mentioned before. It should also be tightly screwed for obvious reasons.
Keep in mind that wrapping your bottle in clothing will make it harder to reach, drinking more than you usually do at once will make you take it out less often. This will also make you open your backpack less often. Keep in mind that every time you open your backpack, warm air storms in!
Get an insulated water bottle
No products found.
Why put all the effort I mentioned above when you can just get an insulated bottle? Well, it’s not as great as it sounds.
Insulated bottles are very heavy which will make you even more tired, making you drink more water. They are also pretty expensive, so you probably won’t buy more than one. This can be a problem if you drink tons of water.
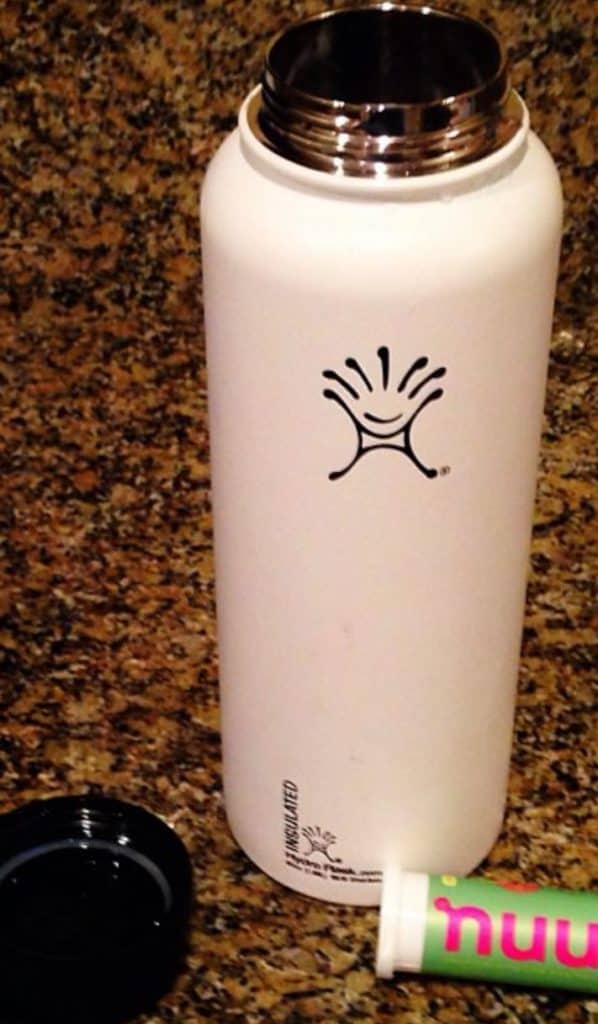
There are lots of good options on the market like Hydro Flasks.
You can choose less heavy ones as well. See this article for more insulated water bottle options.
Insulated bottles will help keep your drinks (and ice) cold for extremely long amounts of time.
I don’t use my insulated bottle as most people do. I use it to store ice cubes, so when my water gets warm I can just grab a few ice cubes out of it!
The point is, insulated bottles aren’t great for long-distance travel. I only use my insulated bottle as a “portable cooler”.
Freeze your water bladder
No products found.
Remember that water bladders, hydration bladders, hydration packs, and hydration systems are all the same thing. I’ll be using them interchangeably throughout these next few tips.
Here’s a method for people who prefer hydration bladders over water bottles.
Here are the steps to safely freezing your water bladder:
- Fill up your water bladder halfway with water.
- Blow air into the water bladder until it’s full.
- Lay it horizontally in your freezer.
- After freezing and taking it out, fill the rest up with water.
Remember to not leave any water in the tube of your water bladder. This will cause the tubes to split and break.
This method works just exactly like the bottle method I explained earlier.
This is the only freezing method I recommend for hydration systems. Please remember that trying to freeze them in any other way will very likely damage them!
Cool your water bladder
If you don’t have time for the freezing method I mentioned above, you can always just use ice cubes in your water bladder Putting ice cubes inside your water bladder will help keep it cold for a while, but not as long as my freezing method.
If you don’t want to freeze your bladder or use ice cubes, you can always freeze a few water bottles. You can keep adding cold water from your water bottles in your water bladder as they slowly melt. This method is actually very effective and will let you refill your bladder a lot of times with cold water.
Also, remember to blow the water back in your water bladder! The water inside the tubes of the hydration bladder will overheat very quickly.
If you don’t want to keep blowing the water back, you can put neoprene around the tube to insulate it. I don’t recommend going this route though as it’s a bit tedious and neoprene could be hard to find.
You can use the same water bottle insulating methods I said earlier for your water bladder. They’re very effective methods for keeping your water bladder cold.
Use evaporative cooling
This is actually a pretty incredible phenomenon that I didn’t know until recently.
Keep in mind that this will only work in dry climates. It won’t work in any humid places.
Since evaporation takes energy, which is heat in this case, it’ll try to get it somehow. If you properly insulate your water bottle as I said above, it’ll only be able to steal energy from the water.
Since it’s stealing heat energy from the water, that means your water will get colder! This is basically nature’s way of refrigeration.
You have probably felt evaporative cooling before. Getting out of a swimming pool makes you feel colder because of the water evaporating off you. This means you’ll have to worry a little less about keeping your water cold if you’re hiking or backpacking in a very dry climate.
Use a stream or lake
I actually thought of this method after I completed a long hike. I couldn’t believe I haven’t thought of it before because it was so simple.
If you bring a portable water filter like a LifeStraw, you can just drink from any water source you find. Most hikes I go to are full of small creeks, rivers, and some even have lakes! This is great because I can drink as much cold water as I can with my water filter.
You can always replace any warm water with the cold water through your water filter.
If you are not carrying a portable water filter, you can just dip your bottles or water bladder in the water. This will make them cool off. Keep in mind that you’ll need to wait a while for the water to cool down, I’d say at least 30 minutes.
Make sure to have a backup plan and not only rely on these methods as you might not find any water on your hiking trip, especially during lots of heat. Water dries up very fast!
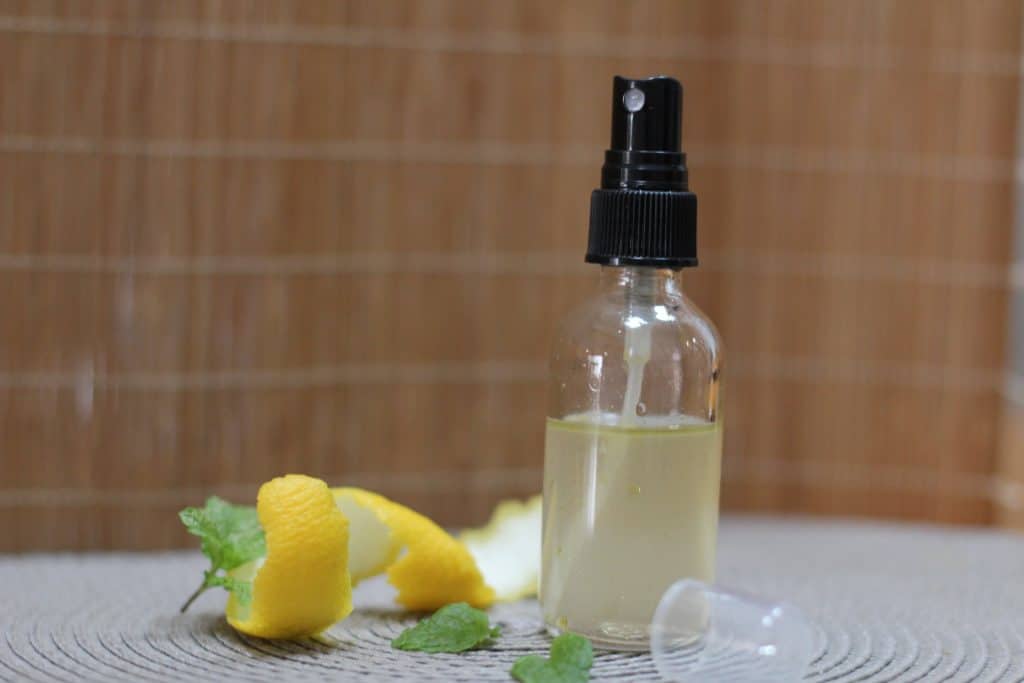
Use water flavoring
Sometimes it’s just impossible to keep your water cold for a long enough time, especially in the desert heat.
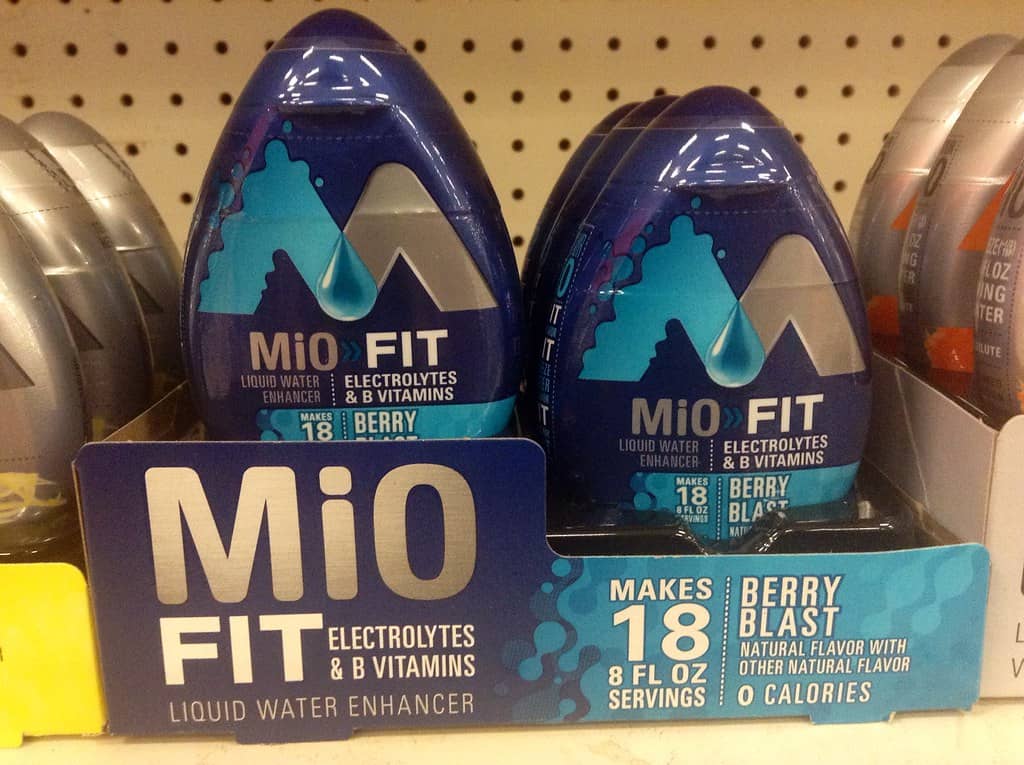
You can always just add some Gatorade powder or flavoring packets to your water. Gatorade powder also contains a lot of electrolytes which will help replenish you.
This method isn’t really for keeping your water cold, it’s for making warm water more bearable to drink.
I hope you found all those methods useful, good luck on your next trip!
Sean is an accomplished backpacker with over 10 years of experience exploring the great outdoors. He has a passion for hiking, camping and off-grid living.