Keeping food cold while camping is not easy but is necessary. I’ve created this article to teach you all of my tips and tricks I’ve learned over the past few years.
- Cool your cooler with common ice cubes
- Get an expensive cooler with good insulation
- Get 2 coolers to separate drinks and food
- Don’t open your cooler often so warm air doesn’t go in
- Make sure there’s no space in your cooler
- Organize food in your cooler in layers
- Store your cooler in a cold area
- Dig a hole in the sand and put your cooler in it
- Do not use common ice cubes
- Get thermal or dry ice packs
- Freeze your food
Let’s dive into more detail and tips!
- Keeping Food Cold While Camping (21 Genius Methods)
- 1. Know when food perishes
- 2. Don't bring perishable food
- 3. Cool your cooler
- 4. Get a quality cooler
- 5. Get another cooler
- 6. Don't open your cooler often
- 7. Pack your cooler tightly
- 8. Organize your cooler
- 9. Keep your cooler out of the sun
- 10. Put your cooler in the sand
- 11. Try evaporative cooling
- 12. Use the right type of ice
- 13. Get Ice Packs
- 14. Separate your ice
- 15. Pack your food properly
- 16. Bring frozen food
- 17. Freeze your water
- 18. Add salt
- 19. Get dry ice packs
- 20. Use dry ice
- 21. Get backups
Keeping Food Cold While Camping (21 Genius Methods)
1. Know when food perishes
Let’s get into some general information about food before starting off the article.
In the first 24-48 hours, most food perishes without a cooler or any form of cooling.
Also, microorganisms start to grow on meat, eggs, and a lot of other foods past 40 degrees Fahrenheit.
This means you must get a thermometer to make sure your cooler is actually staying cool!
You wouldn’t want to get food poisoning on your trip, would you?
Also remember, during the winter these methods will heaps more effective than during the summer.
Another greatly effective method I suggest is to not bring any perishable food.
2. Don’t bring perishable food
You can bring beef jerky or any other nutritious snacks that are sealed and won’t spoil.
Just keep in mind to bring more water than you expect if you plan on eating these snacks. They’re high in sodium to keep them preserved.
Also if you want to bring cheese, you should avoid soft cheeses like brie and mozzarella.
Bringing firm aged cheese like cheddar or gouda will last you for a very long time.
Time for some wine!
If you really want to bring perishable food, make sure to eat it earlier on the camping trip.
3. Cool your cooler
You must know this trick in order to keep your food colder on your trip.
I suggest you get a bag of loose ice, the ice you’d find at a grocery store or gas station. Just throw it in the cooler a few hours before packing.
Throw that ice out of the cooler when you are done packing and boom. You have a cold cooler!
This method is effective because coolers are usually at room temperature.
If you have a chest freezer, which many don’t, you can use it as well to cool down your cooler. It’s very effective.
Remember, you’d want your cooler to be at a colder temperature so your food stays cold for a longer time.
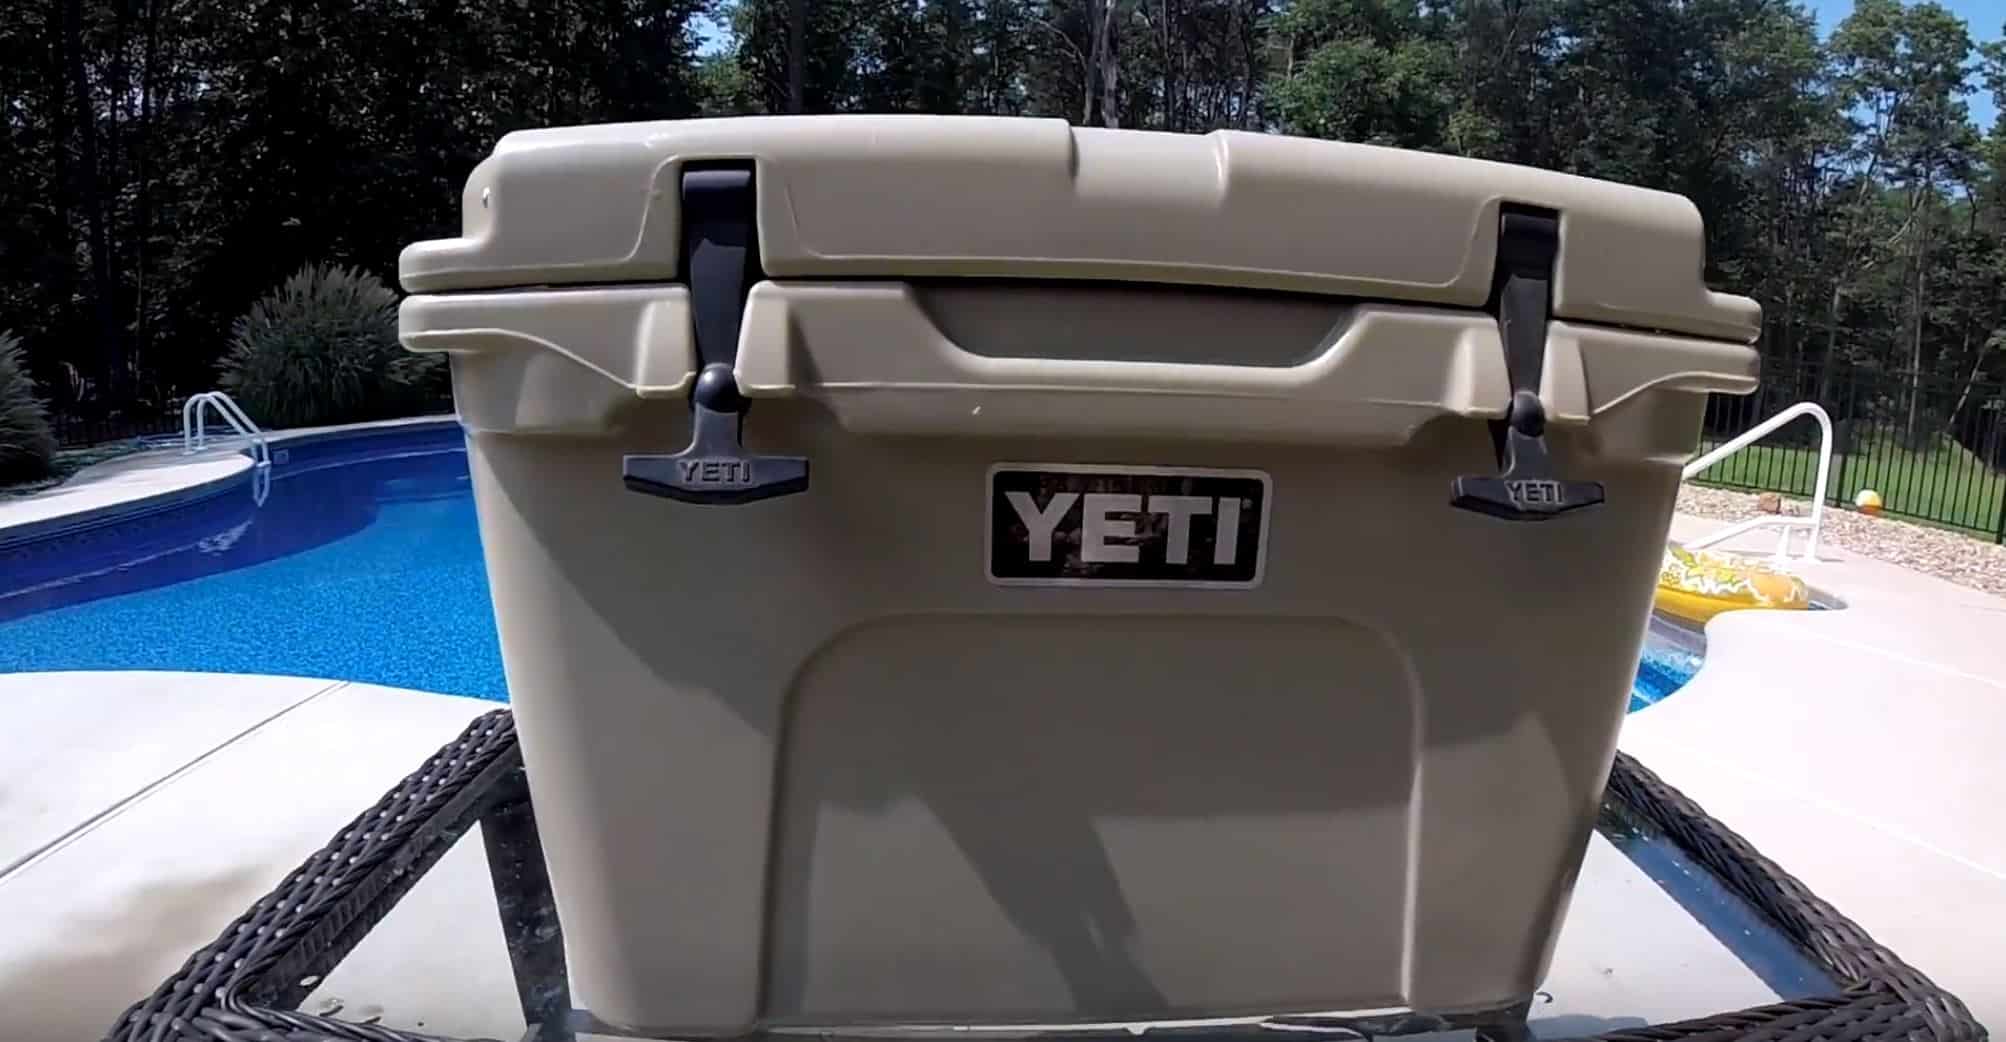
4. Get a quality cooler
I can’t stress this enough. I see people buying cheap coolers and thinking they are the exact same as the high-end ones.
You must buy an expensive, quality cooler. Keep in mind that high-end coolers will be a couple extra hundred.
I own a Yeti Tundra 35 and you can check out my review and experience with it in a separate article. I actually think it’s the best cooler available on the market.
The price is justified though with the thicker walls and better insulation they provide. They are also more airtight, so they’ll keep your food very cold!
Most quality coolers from reputable companies will keep ice solid for 3-4 days! Isn’t that crazy? Also, try to make sure the cooler you get has a drain. This will allow you to let water out.
Even ice packs and water bottles turn ice into liquid water because of humidity.
Although not very popular, you can also purchase an electric cooler if you camp a lot at powered campsites or want to use a car battery.
Some coolers might also come with advanced technology like Bluetooth and speakers, it’s your choice in the end.
5. Get another cooler
Getting 2 coolers is another extremely effective method, although some might opt out because it’s pretty expensive.
Most just won’t have the space or budget for separate coolers.
This method is effective because you can put your drinks in one cooler and food in the other. Drinks will always be opened more than food, thus causing your cooler to warm up faster than it should.
Having 2 different coolers ensures the food cooler is opened less often. This means that less warm air will be going in.
Also, make sure to identify them with tape on the top! You want to make sure nobody is accidentally opening the food cooler.
There is a product on the market called the Ice Mule. It is specifically designed to store any extra drinks away from food.
It’s great if you’re on a budget or don’t have enough space in your vehicle to carry around 2 coolers.
6. Don’t open your cooler often
As I mentioned above, you should try to avoid opening your cooler often.
This is because when you open a cooler, warm air will storm in.
No matter how short of a duration you open it for, warm air will always storm in and will melt your ice a bit more.
Just remember, try to open your cooler(s) as little as possible.
7. Pack your cooler tightly
This is also extremely important and should not be ignored!
The more space your cooler has, the warmer it’ll be.
Just make sure every space in your cooler is filled with either food or ice.
8. Organize your cooler
Alright, it’s time to learn how to organize your cooler. Many people have no clue and just make a big mess in their cooler.
You must layer food items by how much refrigeration they need. The lower, the more refrigeration they’ll get.
- First, you’d want to place a layer of ice at the bottom of your cooler.
- Now place any frozen food, cooked meat, or raw meat on top.
- Add another layer of more ice blocks on top of that meat.
- Add sealed and packed items on top of that layer.
- Put your most delicate and most used items on top of the sealed and packed items.
- Fill the rest of the cooler with ice.
Remember that your food should take up no more than 60% of your cooler, otherwise it won’t be cool enough!
As I mentioned in the steps above, you should put what you want to eat first all the way on the top. This prevents digging down, thus making your cooler last longer.
You should move any frozen meat you plan to cook the next day up in your cooler so it can defrost.
This also means that your other food will stay colder for longer since the meat is no longer in ice.
9. Keep your cooler out of the sun
Just like how you’d keep yourself out of the sun, you’d want to also keep your cooler out of the sun.
The sun is one of the main reasons for coolers heating up!
If you really want it to be in the sun, or you don’t know where to leave it, you can always cover it up with some tarp or blankets.
Try, if possible, to store it in a cold and shady area. It’d make your food stay cooler for an exponentially longer amount of time.
You can store it in the trunk of your vehicle if you’d like.
Just make sure your cooler is kept away from heat!
10. Put your cooler in the sand
Are you going to the beach or the desert? This tip was actually very useful and I barely saw anyone else doing this.
You can get an extra day or two out of your cooler just by digging a well in the sand and putting your cooler in.
Sand is actually an incredible insulator against heat, and it gets colder the deeper you go!
Just throw some Reflectix on the lid of your cooler and you’re ready to go. It’ll reflect the sun away from your heater.
11. Try evaporative cooling
This is great for any produce, fruits, and vegetables. It’ll make them last up to 4 days, which is pretty incredible!
- Add produce to a porous sack (it could be burlap or mesh).
- Wet the entire bag.
- Hang it in a shady area with a good amount of wind.
- When the sack dries, wet it again (usually 2-3 times per day).
You can also dig a hole in the ground if you want to store produce. Just remember, it could get a little dirty.
I’d steer away from this method though because it is a bit dirty and insects could get to your food pretty quickly.
12. Use the right type of ice
Do not, I repeat, do not use ice from your local gas station or grocery store!
I only recommend this ice for cooling your cooler, as I mentioned earlier.
You should only buy this cheap ice if you’re in a hurry because it’s very easy to get, but remember that your food will only last about 2 days.
Bad ice will melt very quickly and turn into a pool of water.
Avoid this ice at all costs. I’d only use it for drinks if I were you because it ends up yucky with food.
13. Get Ice Packs
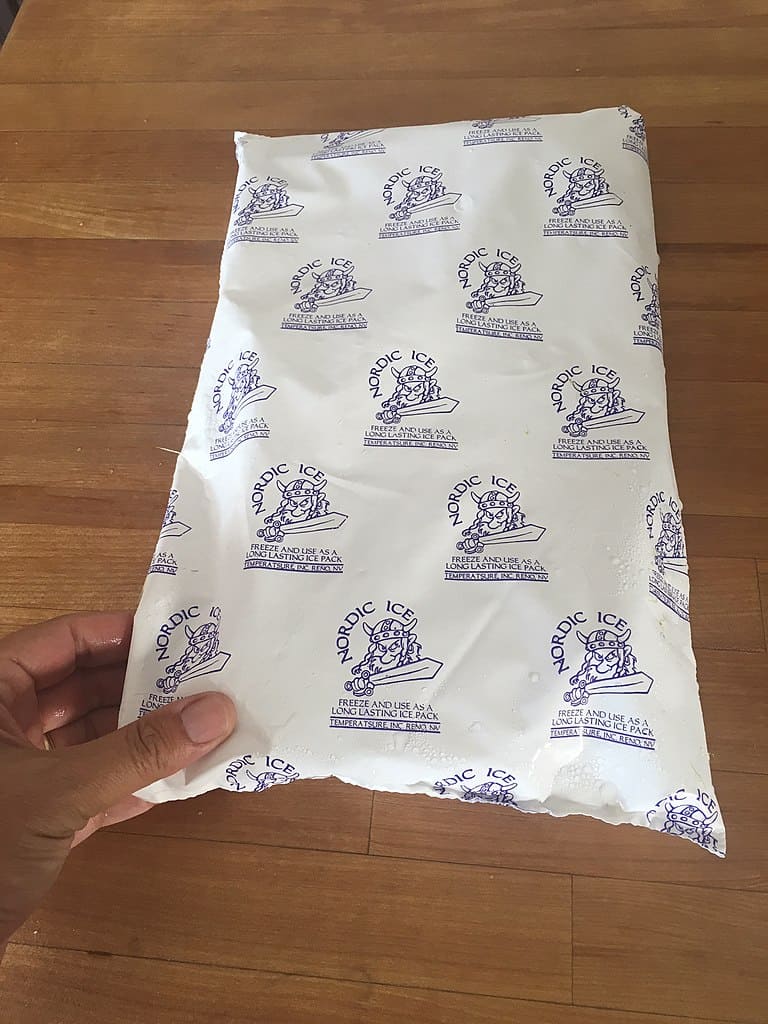
Do not get those weird gel packs from the store. They’re usually blue in color.
They’ll melt and mess your whole cooler up, I’ve tried it before!
Thermal ice packs are very effective and good. They are also great for saving money since they can be reused over and over again. Thermal ice packs are pretty popular so you can find an ideally sized one anywhere.
You can also create your own ice packs, I will give you a variety of ice packs you can make.
Here’s a way to make rigid ice packs:
- First, soak some sponges in water.
- Add a bit of salt so it freezes faster.
- Throw those sponges in a freezer.
You can also make flexible ice packs:
- Freeze some dish soap in a Ziploc bag.
- Add a bit of salt so it freezes faster.
- Get as much air out as possible.
- Put it in a freezer.
If you don’t have any of those ingredients above, which most people do, you can always use rubbing alcohol.
- Get a freezer bag
- Fill the bag up with 1 cup of rubbing alcohol and 2 cups of water
- Get any air out of the freezer bag and seal it well.
- Put it in a freezer.
14. Separate your ice
Not a lot of people usually do this, and this is a must if you are using ice cubes.
Putting ice cubes in a cooler is dirty and can get ice contaminated. Also, although rare, the ice itself can contaminate the cooler!
Keep ice in freezer bags.
This will help the ice and cooler stay clean and you can even use the ice in drinks!
15. Pack your food properly
Just like how you don’t want your ice being contaminated, you also don’t want your food being contaminated.
Put all food except for raw meat in non-permeable bags. This’ll protect it from any ice melt, making your food not soggy!
If you separate your ice as I said above, you won’t need to worry about sogginess.
Place any raw meat in plastic freezer bags so your cooler doesn’t get contaminated. Raw meat has lots of dangerous bacteria!
16. Bring frozen food
Frozen food will stay colder for a way longer amount of time. It will also cool everything else around it.
You can pack it as airlines do, airline food is always frozen. Here’s a guide on freezing food.
Freeze everything you can. Meat, vegetables, and perishables should all be frozen before you go on a camping trip!
If you don’t have time, you can always pick up frozen food from the grocery store instead of going for fresh products.
If you are freezing cooked food, make sure to reheat it properly. It could’ve racked up some germs.
Also, another clever idea is to cool your drinks. This will keep the cooler and drinks colder for a longer amount of time!
17. Freeze your water
This is the method that I always use when I go camping. I’ve found it to be more effective than anything else.
Fill any spare space in your cooler with frozen water bottles. These can be 2-liter bottles or any bottles of your liking.
Remember that you must freeze these a few days in advance! It can take up to a week to freeze large bottles.
If you don’t have time, you can just add 1/4 cup of salt to the bottom of a bottle and fill it with water.
Salt lowers the boiling point, meaning it makes stuff freeze faster and more effectively! Just remember to label any bottles that have salt so you don’t accidentally drink them!
The bottles will stay frozen for a longer amount of time than ice cubes and most ice packs.
Also, a great benefit of this method is that you’ll eventually have some cold water leftover to drink once your cooler is warm!
Just freeze around 90% of any water you plan to bring to the campsite and place it in your cooler smartly.
18. Add salt
As I mentioned earlier, salt makes the boiling point lower. Just make sure not to add salt on ice cubes, it’ll melt them extremely fast!
I recommend bringing a lot of salt with you to your camping trip because you can add salt in your cooler once it starts melting.
When melting water mixes with salt, it becomes colder than ice! This will let your cooler last for a lot more time than usual.
Just remember, like everything else, do not overdo it.
19. Get dry ice packs
Dry ice packs, sounds crazy right? Actually, it’s not a very rare thing!
Dry ice keeps food actually frozen, it’s that cold. Normal ice just keeps your food “cold”. This means you can expect your food expectancy to go up significantly if you use dry ice.
There are huge packs available on the market. Try to get the biggest ones you can!
There are lots of high-quality dry ice packs on the market.
I will talk about using your own dry ice below.
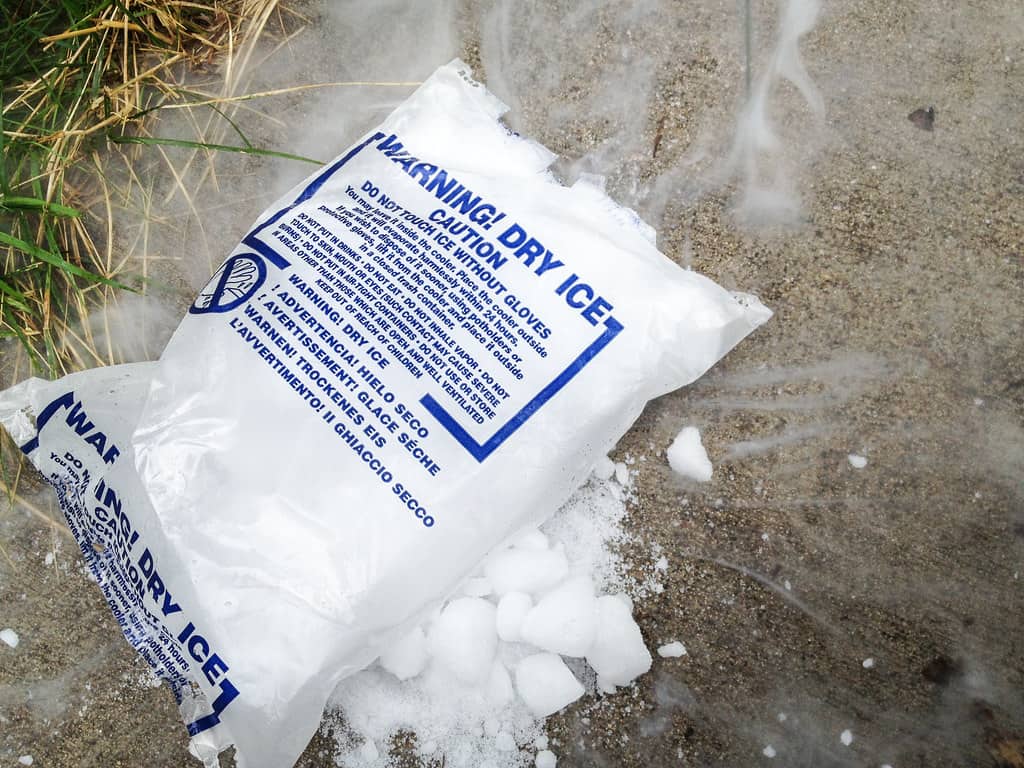
20. Use dry ice
Dry ice will last way longer than ice because it’s frozen carbon dioxide. Ice is just a frozen form of water.
Dry ice is actually way colder than ice as I mentioned above as well.
Did you know dry ice doesn’t melt or leave anything behind like water? It actually turns into a gas instead of a liquid.
This process makes a lot of pressure in your cooler, which will make it cooler for an even longer amount of time.
Dry ice will dissipate at about 10 pounds every 24 hours. I recommend you buy dry ice immediately before camping.
- Wrap dry ice in a few layers of newspaper.
- Put the dry ice on top of your food.
- Place regular ice or ice packs below your food.
Only place dry ice above your food and don’t let your dry ice get into contact with any water! Also, do not touch dry ice directly with your hands, you need to get some gloves.
As I said above, it’ll give off gas. Carbon dioxide can be dangerous, so make sure to put it in the trunk or back of your truck. Make sure to store it away from any tent and pets.
Walmart, Costco, and Safeway all sell dry ice. Some stores might require you to be over 18 to buy dry ice.
Since it’s so easy to get, you can always restock if there’s a store nearby.
21. Get backups
You always need a backup when you go camping, especially alone!
If all fails, grab tons of snack bars and non-perishable snacks. You can also get a water filter if you ever run out of water.
As I always say, keep an extra gallon of water!
Sean is an accomplished backpacker with over 10 years of experience exploring the great outdoors. He has a passion for hiking, camping and off-grid living.